

Old Red Barn
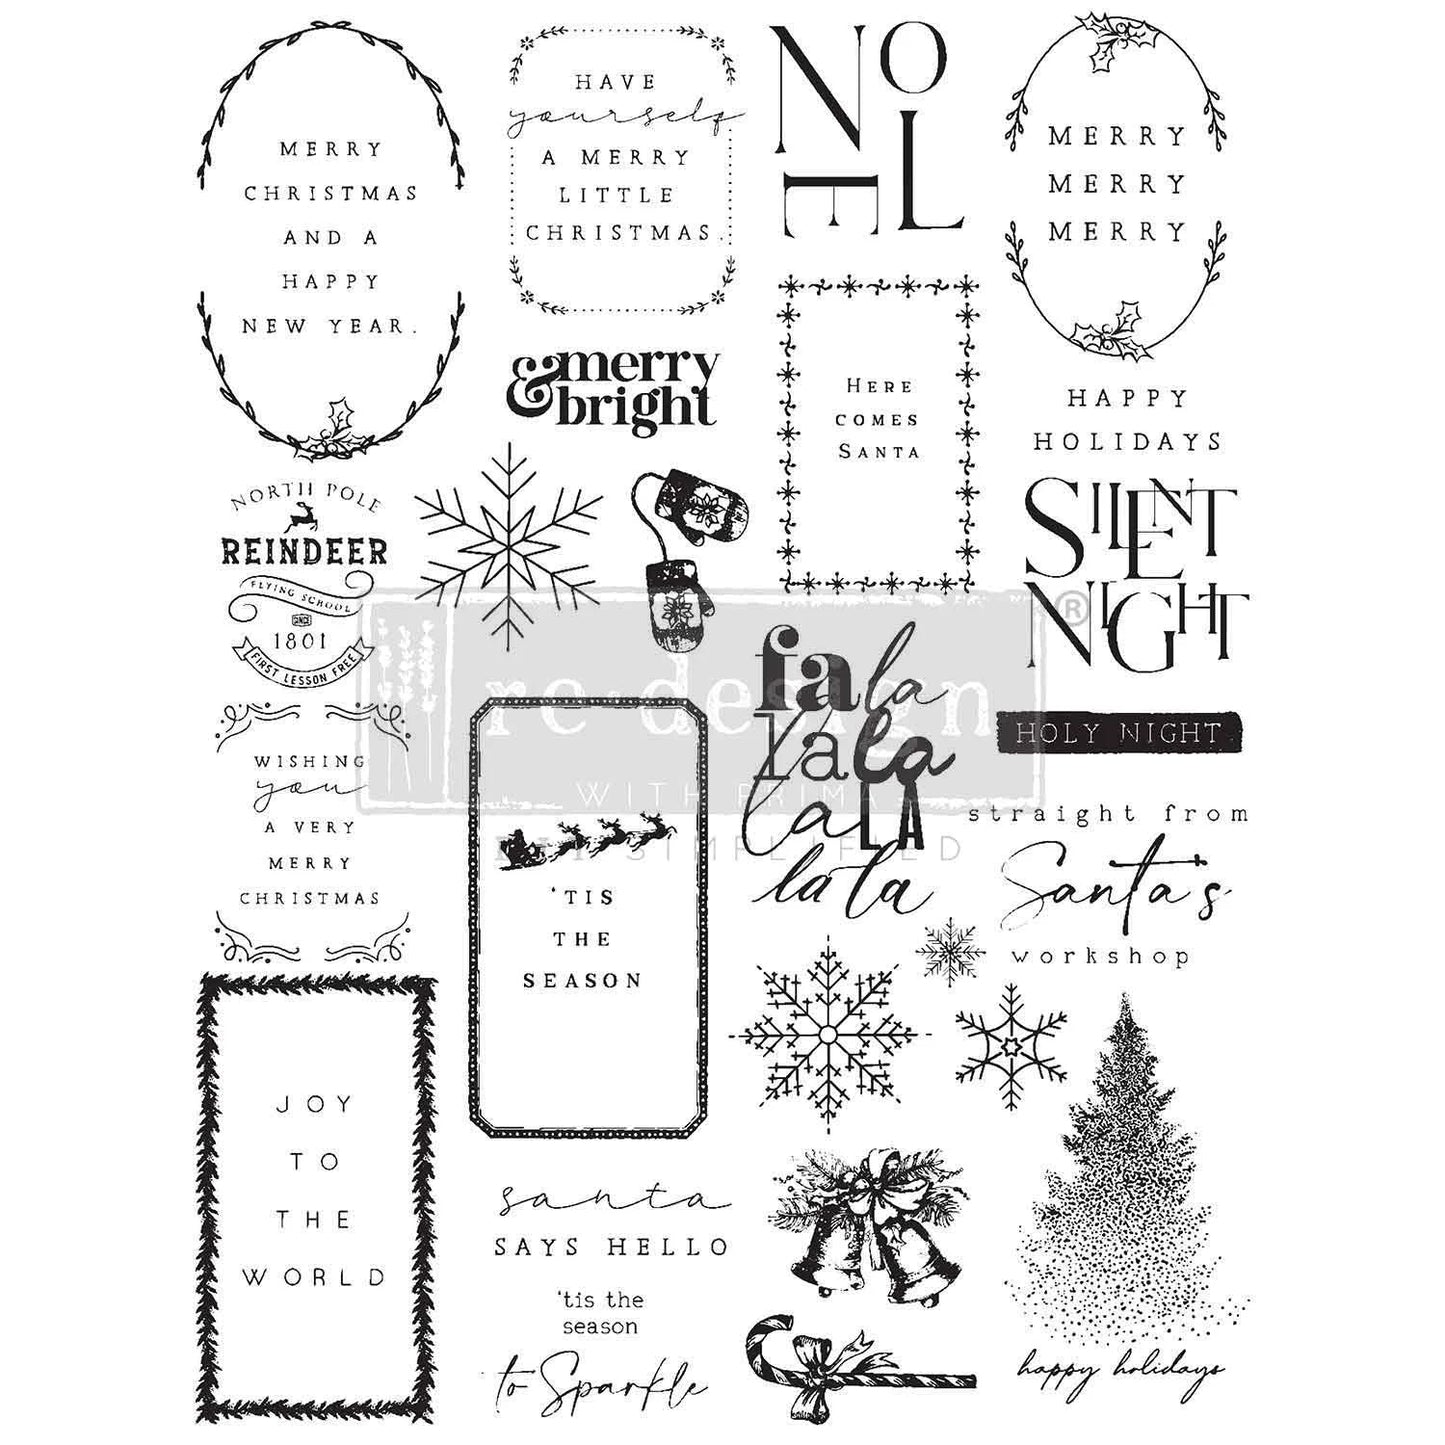
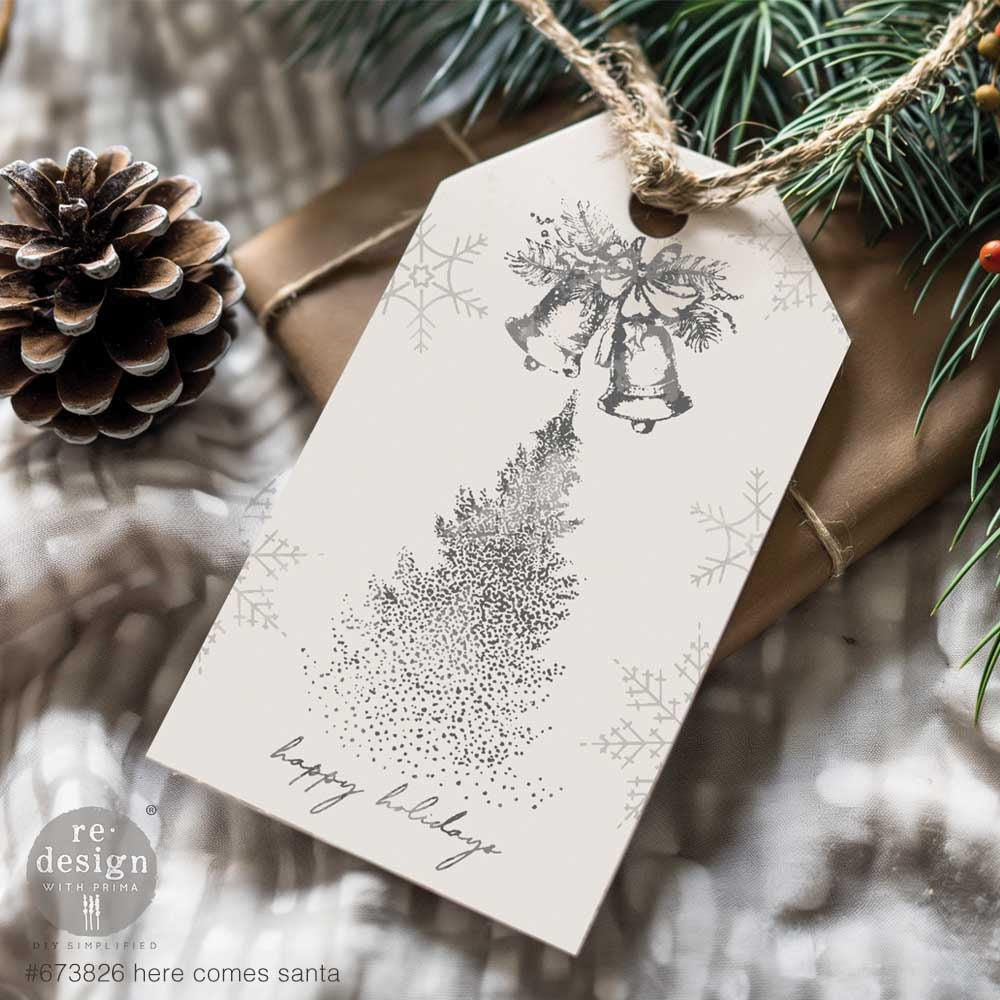
Here Comes Santa (21.59 x 27.94 cm) - Decoration stamp
Here Comes Santa (21.59 x 27.94 cm) - Decoration stamp
2 in stock
Couldn't load pickup availability
These Redesign with Prima stamps are clearly aligned, allowing you to create unique and versatile stamped designs on various surfaces, such as furniture, walls, fabric, and more!
Thanks to the transparency of the acrylic stamp itself, you can easily align it for perfect placement. This also makes it easier to avoid overloading or misalignment. Because you can clearly see the pattern without inking the stamp first, creating repeating patterns is much easier.
All stamps are made from high-quality, food-safe acrylic and contain a varying number of individual stamps depending on the design.
Below we explain how to use a stamp.
STEP 1
Remove the stamp from the acetate backing and attach it to an acrylic stamp block (choose the most suitable size).
STEP 2
Once assembled, apply the ink by pressing it onto an ink pad. You can also apply paint instead of ink. If you use paint, use as little as possible to prevent smudging. You can use a foam sponge, for example.
STEP 3
Make sure your surface is clean and dry. For painted surfaces, allow the paint to fully cure for at least 24 hours before applying the ink (longer if conditions are cold and drying times are longer).
STEP 4
Once you're satisfied with the amount of paint or ink on the stamp to create the look you're aiming for, align your stamp using the clear outlines printed on the stamp. These outlines will still be visible through the clear acrylic block. Then, carefully place the stamp on your surface.
Apply reasonable pressure to transfer the ink. It's recommended to practice a few times on a different object to get a feel for exactly how much ink or paint you need.
Using an acrylic stamp block isn't always necessary. If you don't use the block, you'll get less uniform prints, which can give them an older, weathered look.
STEP 5
Repeat the process until your design is complete.
STEP 6
To keep your stamps in good condition, you should clean them after each use. Even if you plan to use multiple colors of ink or paint, you should clean the stamp between uses.
STEP 7
Once clean, place your stamps back on their backing sheet to keep them safe until next use.
And you're done...!