

Vintage Paint
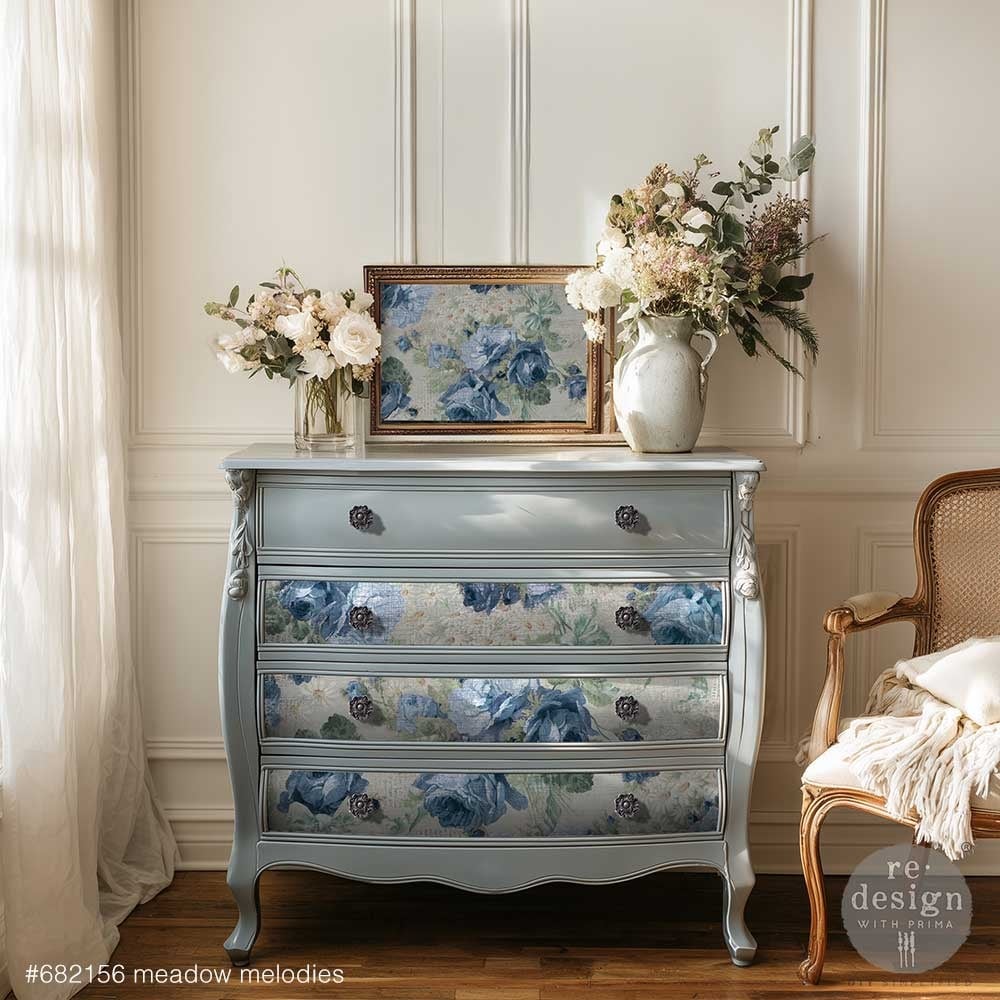
Meadow Melodies (49.5 x 76.2cm & A3) (2 Pack) - Redesign découpage FIBER
Meadow Melodies (49.5 x 76.2cm & A3) (2 Pack) - Redesign découpage FIBER
3 in stock
Couldn't load pickup availability
Decoupage is a technique used as early as the 18th century. The word "decoupage" comes from the French term "découper," meaning "to cut." Decoupage is a technique used to decorate furniture, walls, or other accessories by applying (colored) paper or cut-out motifs . The pieces of paper or cut-out motifs are glued to the object using special decoupage gel. You can use the decoupage technique on a variety of surfaces.
If you've never done any decoupage before, don't be afraid! It's actually quite simple. Below, we'll explain step by step how to do the decoupage technique.
Supplies:
- Decoupage paper
- Decoupage gel
- Scissors or craft knife
- Brush or sponge brush
STEP 1
First, choose an object or piece of furniture to glue the decoupage paper onto. When you first start decoupage, it's recommended to choose an object with a straight, flat surface, such as a storage box, the inside or sides of dressers, a table top, etc.
As you gain confidence, you'll see all the possibilities. As long as you have the right adhesive for the surface, you can decoupage it!
STEP 2
Prepare the surface thoroughly. Remove any old paint residue and sand rough surfaces smooth. If you're going to decoupage a smooth surface like glass or metal, it's also a good idea to lightly sand it. Then wipe the surface with a damp cloth and make sure it's clean, grease-free, and dry.
If the decoupage paper you've chosen is light, the color of the furniture may show through. Therefore, you might want to paint the background in a complementary base color first.
STEP 3
Decoupage gel comes in a matte or glossy finish. Choose your desired finish and apply a layer of decoupage gel over the surface with a brush. A brush can leave lines. For a smoother look, a sponge brush is a better alternative.
STEP 4
Cut your design to size and lay the paper down. Try to be as precise as possible so you don't have to move the paper later, as there's a high risk of it tearing.
Use a flat tool, such as a cardstock or transfer stick, to very gently smooth out any wrinkles or air bubbles. You can also use a wad of plastic wrap to push out any air bubbles. This way, you're less likely to tear the paper.
STEP 5
Next, apply a layer of decoupage gel over the design, making sure it's completely covered. Apply 1 to 3 more layers of gel until you achieve the desired finish.
And you're done...!