


Old Red Barn
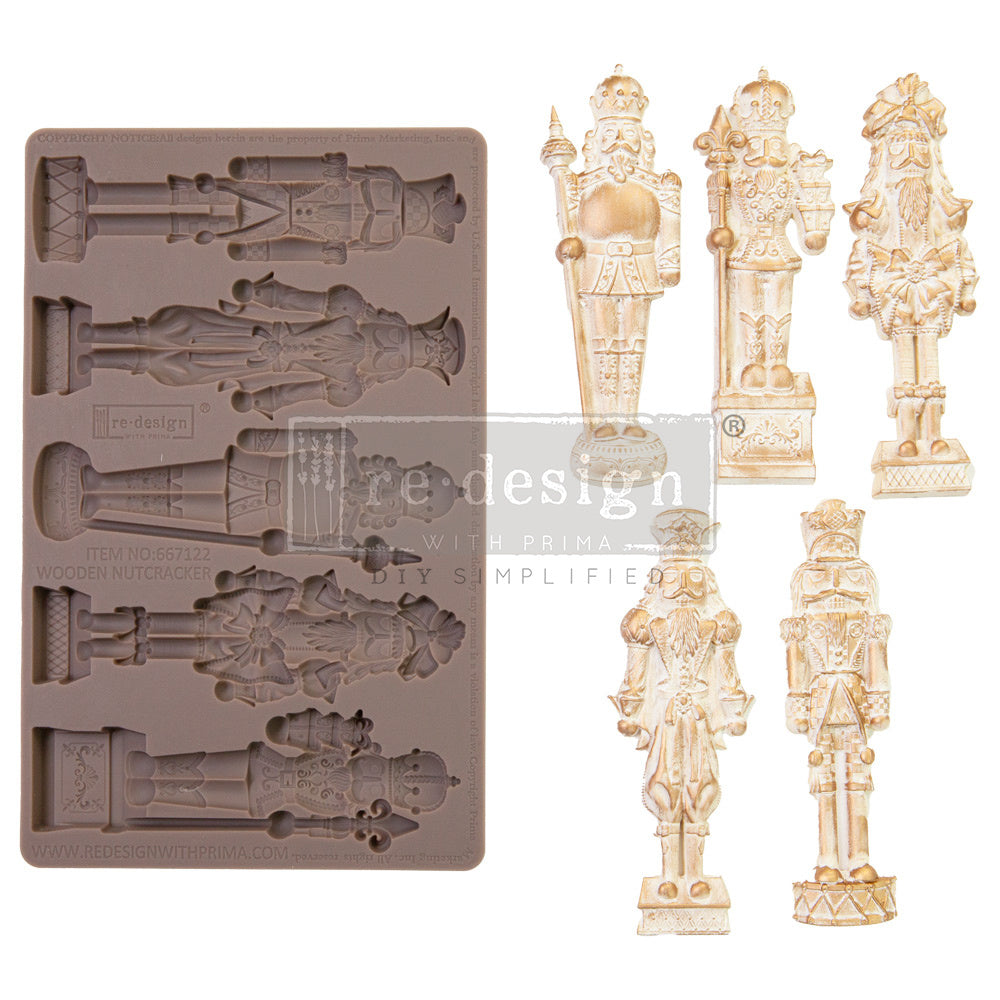
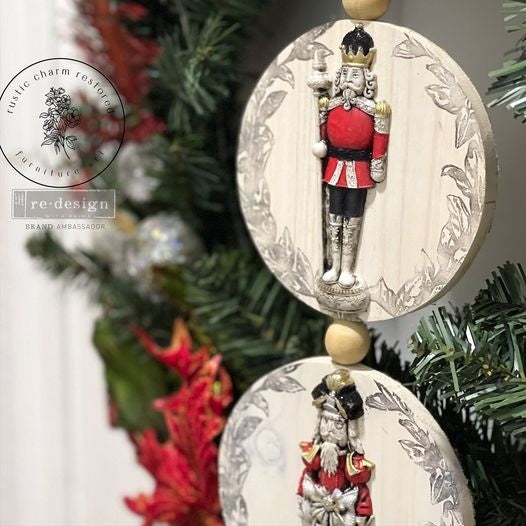
Wooden Nutcracker (12.7 x 20.32cm) - Silicone Casting Mold
Wooden Nutcracker (12.7 x 20.32cm) - Silicone Casting Mold
3 in stock
Couldn't load pickup availability
These silicone casting molds from Redesign with Prima are also called "decor molds".
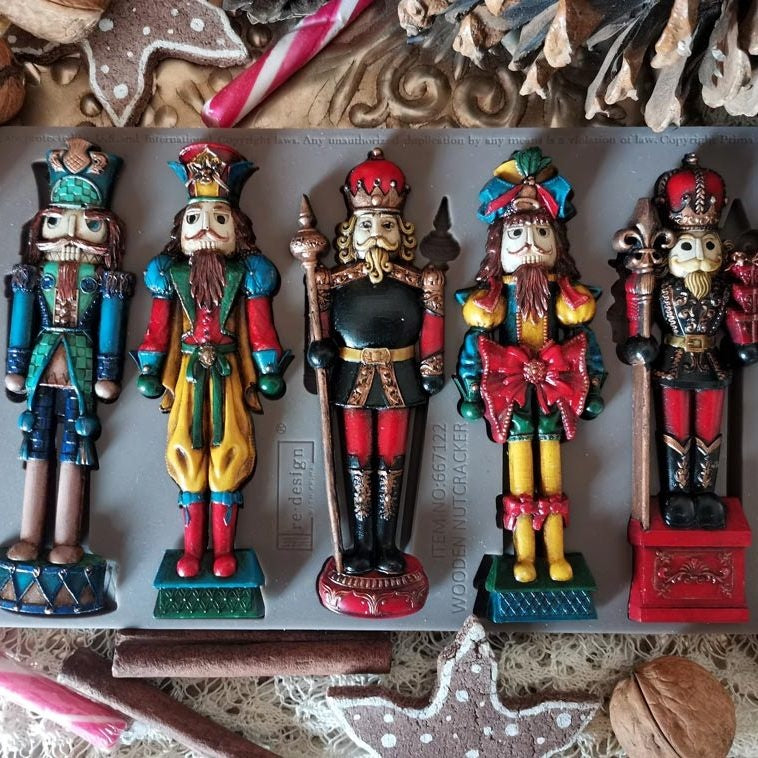
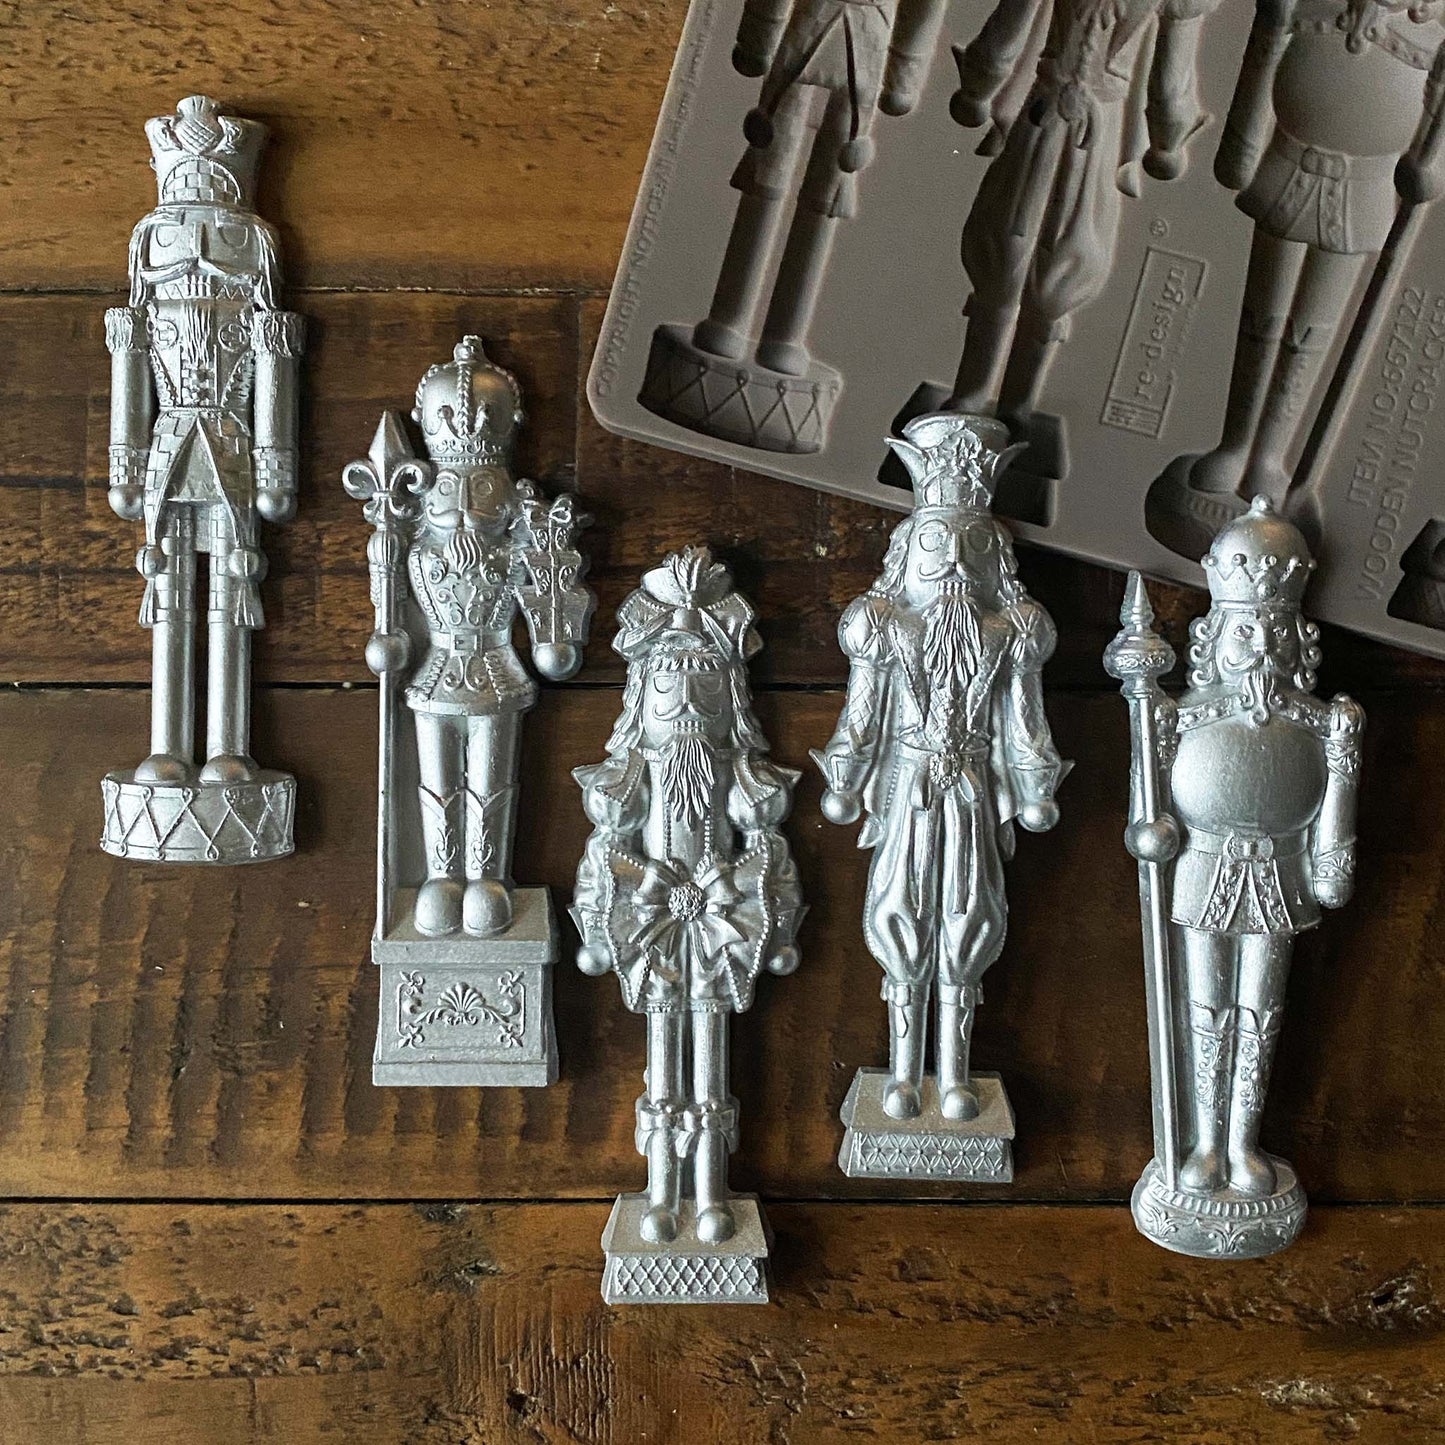
The figures in the molds are carved with great detail, allowing you to cast incredibly fine figures and ornaments. Because the molds are made of flexible silicone rubber, they can be reused over and over again. Because they are so flexible, your casting releases effortlessly once it has hardened.
It's good to know that the silicone molds are both cold- and heat-resistant. They're also made of food-safe material, so you can also use them for casting chocolate. We do recommend keeping molds used in your kitchen separate from those used for epoxy or clay. Besides decorating your pastries or furniture, you can also use these molds for casting soap. Because the molds can withstand temperatures of up to 500 degrees Celsius, they're also suitable for ceramic clay.
Below we explain how to use the silicone casting molds.
STEP 1
Make sure the molds are clean and dry before using them. You can spray some WD-40 or rub some oil into the mold to make it easier to remove the appliqués once they've hardened. Some people also like to sprinkle them with a little cornstarch.
STEP 2
Pour your chosen product into the mold (epoxy, clay , casting resin , etc.). Pierce any air bubbles with a toothpick.
STEP 3
Allow your casting product to fully harden, following the instructions on the packaging. Remove the figure from the mold once it has fully hardened.
STEP 4
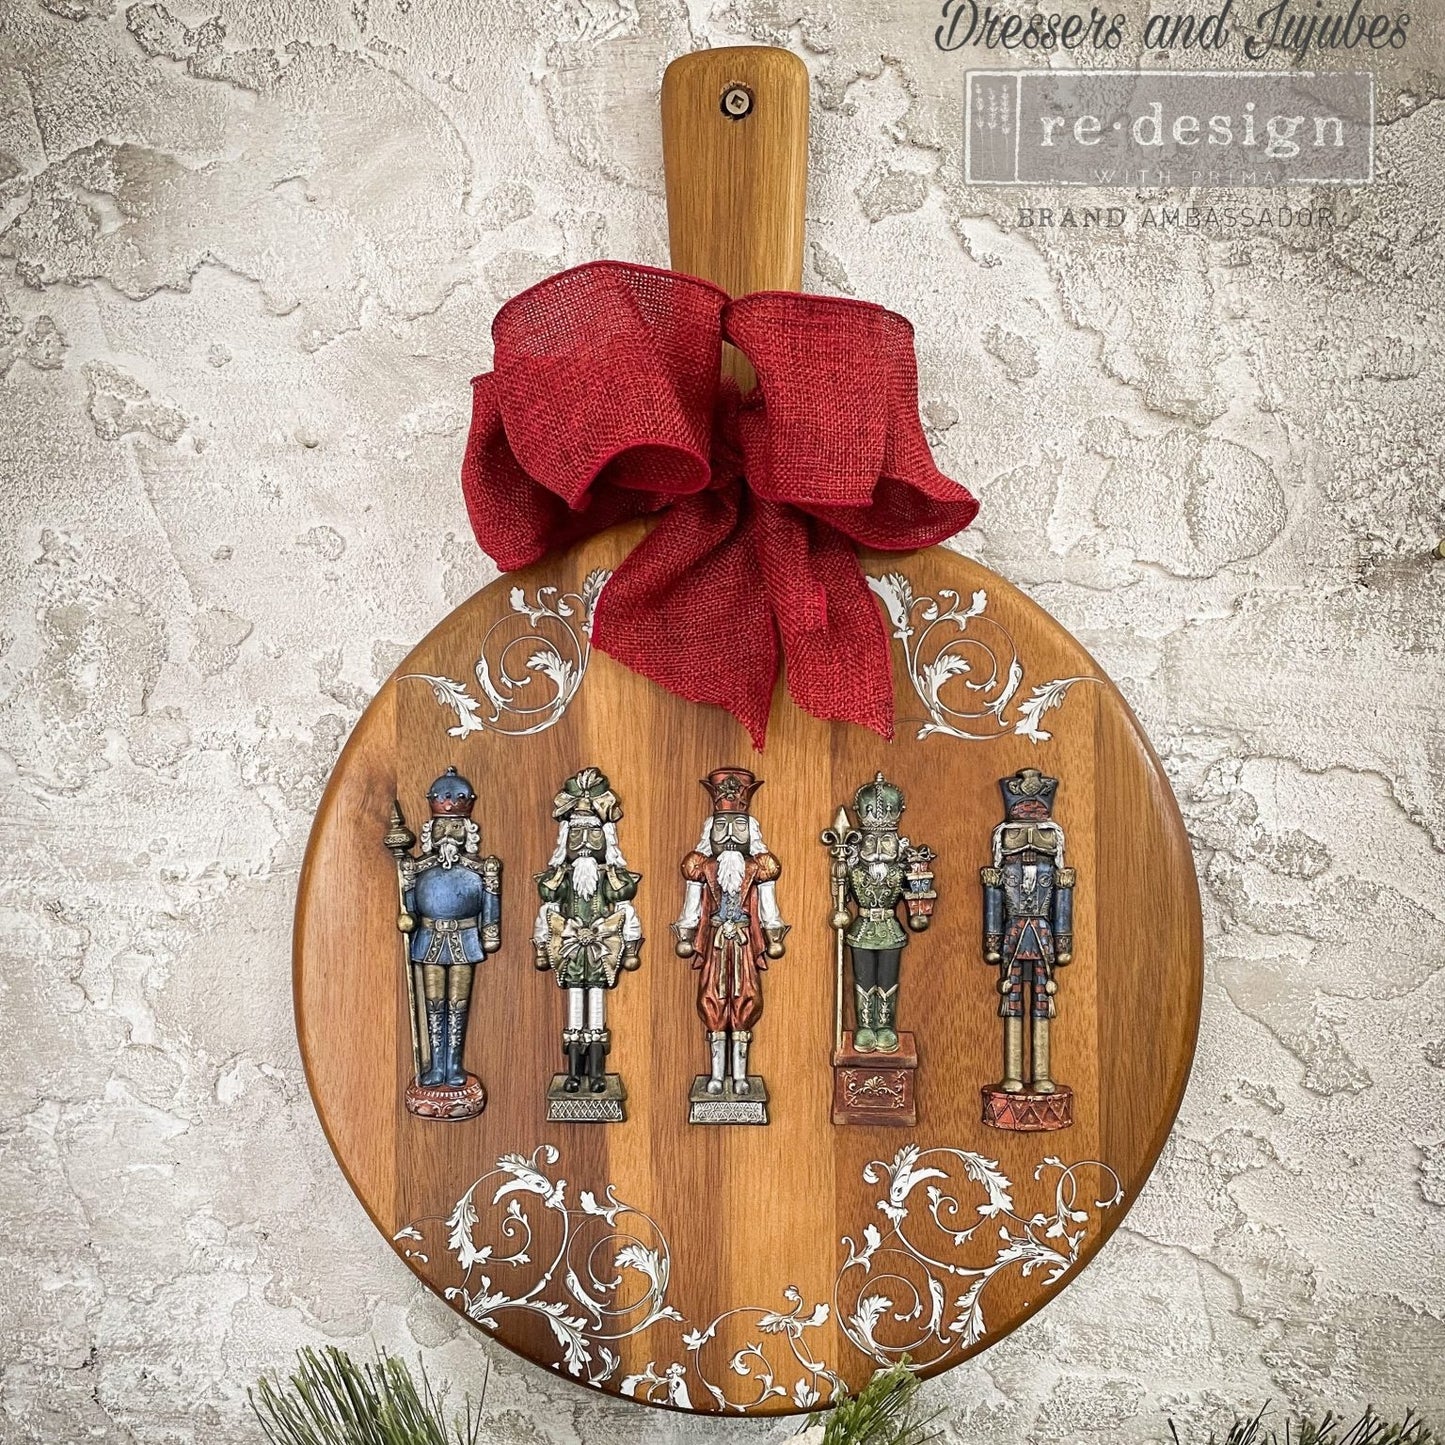
If you want to use the image on a piece of furniture, first make sure that the surface you want to apply it to is free of grease, dust and dry.
Glue the appliqué in place with some wood glue. If you've used epoxy, you can make the cast figure slightly pliable by applying heat to it with a hairdryer. This way, the appliqué can neatly follow the curves of the piece.
While the glue dries, place some weight on the appliqués, or use clamps or tape to ensure they lie flat against the surface. Let the glue dry completely.
STEP 5
You can now paint the appliqués in any color you like. You can paint them before or after gluing them to a surface. You can use regular wax to protect the paint and, if desired, apply some gilding wax for a glamorous look.
And you're done...!